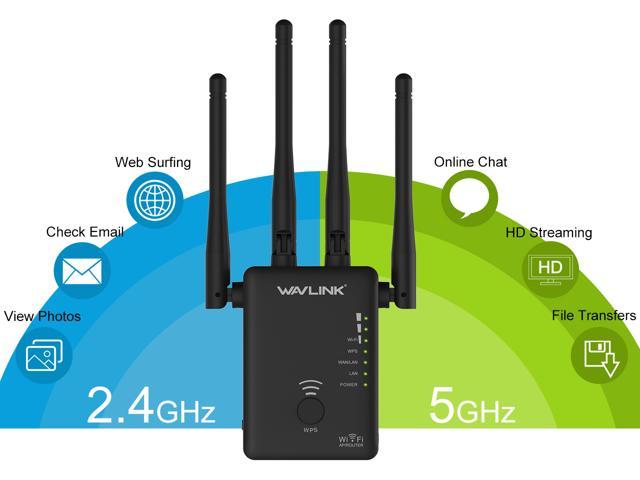
The Wavlink extender setup process has become the convenient one because of the WPS connection process method. A user doesn’t need to know the Wifi name and network key of the router with which he is connecting the range extender. All you have to make sure of is that the router to which you are connecting the range extender must support the WPS connection method. Make sure there is a physical WPS button in the front panel of the router.
Note: Before the setup process, ensure you know the location to place the range extender for its optimum performance.
Steps to setup Wavlink AC1200 extender
- Unbox the Wavlink AC1200 range extender including with the documentation that came along with it.
- Connect the Wavlink range extender directly to a power source.
- Move on to the computer or mobile device whatever you have, and scan for the Wifi networks.
- Disconnect from the currently connected network.
- Connect to the default Wavlink Wifi name.
- Once you get connected to the Wavlink range extender.
- Launch a web browser and type wifi.wavlink.com in the address bar of the browser.
- In case you encounter any error type 192.168.10.1 in the URL of the browser.
- Type default login password in the given field and click login.
- Select your country where you are, from the “Country Region” drop-down list.
- Select the Time zone according to the region you are in.
- Now at the last tab type in the router password, you want to assign to your device
- Click Next, once done.
- Move on to the Wifi settings.
- Personalize the Wifi settings of the network according to your requirements.
- Assign a unique Wifi name to the router and type the Wifi password to the router’s network.
- A Wifi password should be different from the login password.
- In the next one select “Repeater Mode” and find the host’s Wi-fi network name on the list.
- Type in the Wi-fi password of the host’s network and click on the Connect button.
- Wait for a few seconds until the screen shows the 100% connection.
- Once the connection process is done, wait for 60 seconds to allow the transmission of Wi-fi signals.
- When the Wi-fi LED comes back to solid blue, it indicates that you have clean and clear Wi-fi signals.
- Now, you can relocate your range extender to an optimal place.
- When you connect it, wait for one to two minutes to allow it to connect.
- When the LED turns back to blue from flashing red, it means it has connected to the router.
Note: Once the setup process gets done, you need to relocate your range extender to an optimum location from where it can receive the maximum Wifi signals. An ideal location for a range extender is midway between the router and the dead Wifi zone. Even if you are unable to determine a location for it, you can check the instructions given in the online manual guide of the Wavlink range extender.

Comments
Post a Comment